How to Get Google Cloud Platform OAuth Credentials
In order to use NestMTX, you'll need a Google Cloud Platform account and a Google Device Access Console account.
Create and Configure Cloud Project
Go to the Google Cloud Console.
If this is your first time, you might need to create a new Google Cloud project. Click Select a project in the top header.
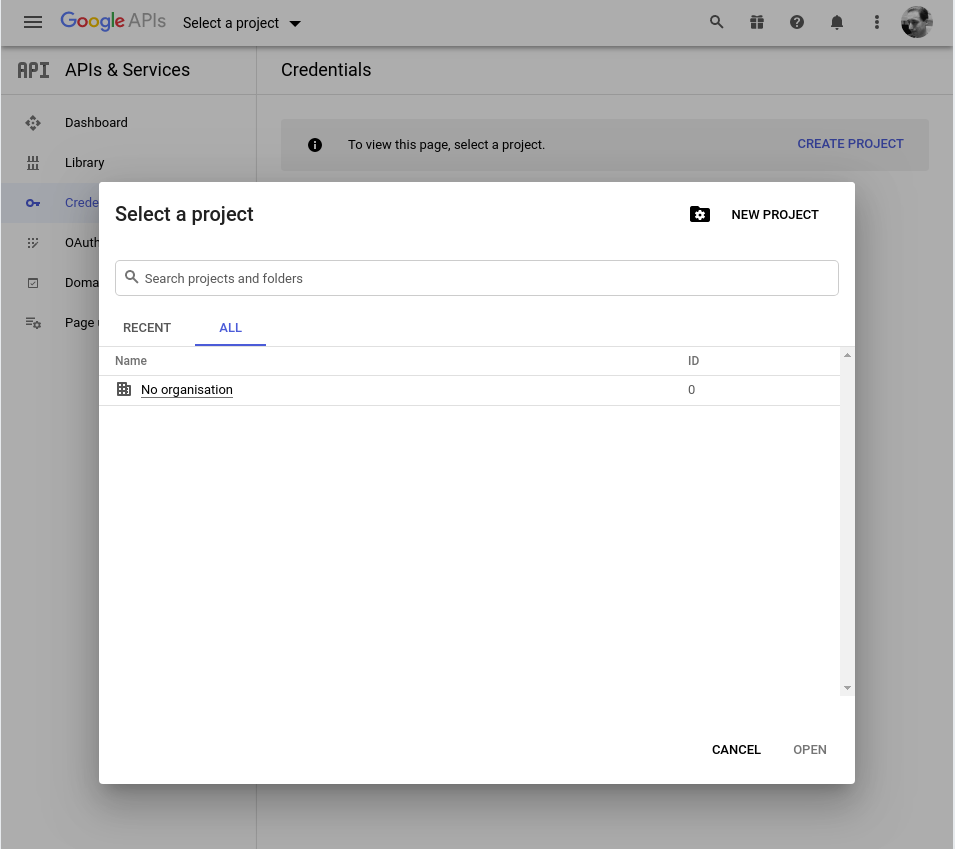
Give your Cloud Project a name and then click CREATE.
From the APIs & Services library, select the Smart Device Management API and click ENABLE.

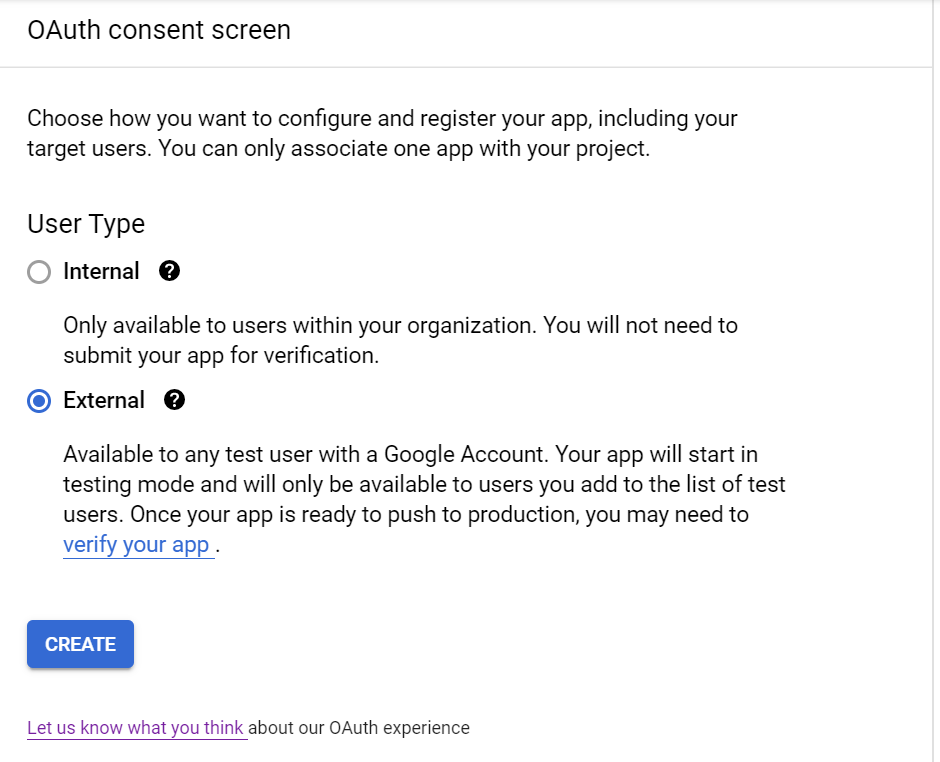
Configure OAuth Consent Screen
Open the OAuth Consent Screen page.
Select External and the only choice if you are not a GSuite user; then click CREATE.
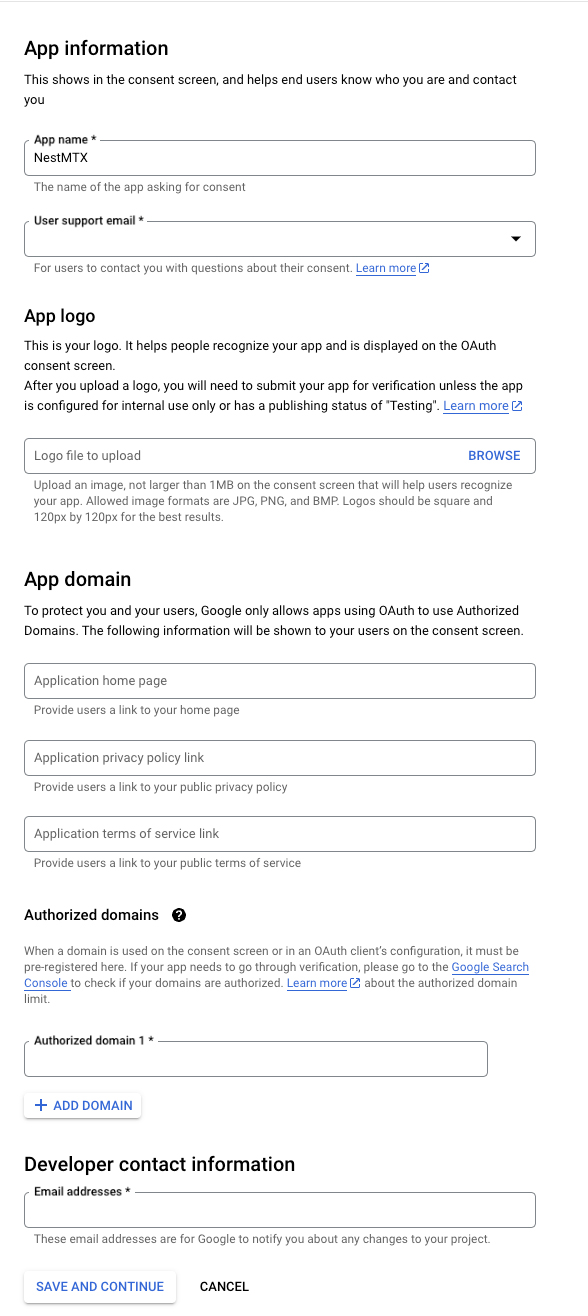
The App Information section includes required items like App Name and User Support Email. Enter your email again under Developer Contact Email. This email is only shown while you go through the OAuth flow to authorize NestMTX to access your account. Click SAVE AND CONTINUE. Other unnecessary information (e.g., logo) is optional and can be skipped.
On the Scopes step, click SAVE AND CONTINUE.
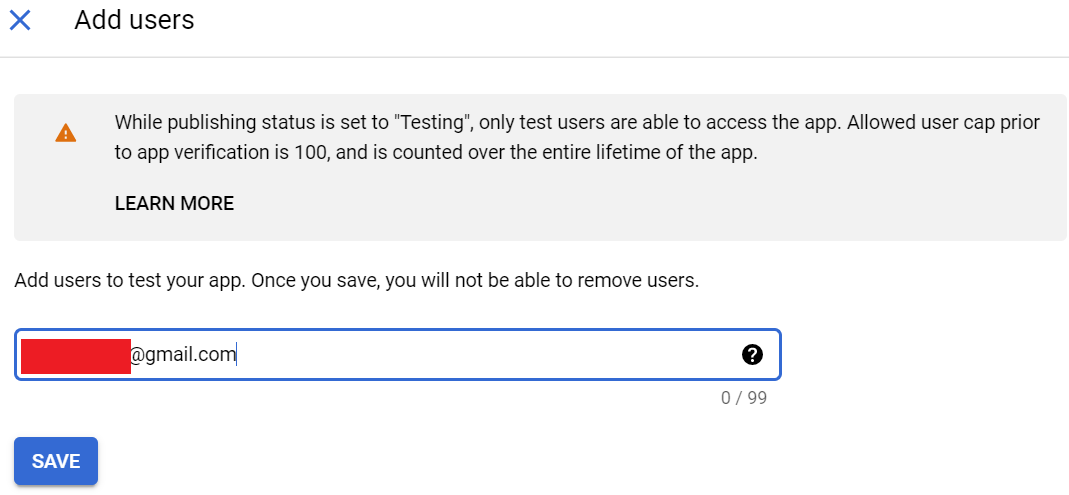
On the Test Users step, you need to add your Google Account (e.g., your organization’s address) to the test list. Click SAVE and your test account can now access the consent flow.
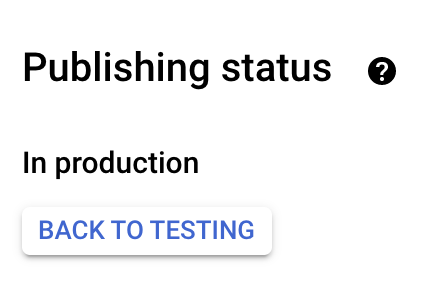
Navigate back to the OAuth Consent Screen and click PUBLISH APP to set the Publishing Status to Production.
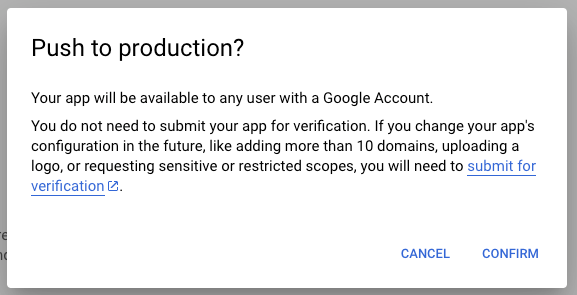
The warning says your app will be available to your test/developer account without Google’s Approval and invites you to click on the App Verification screen if someone finds the URL. This does not require your Google Account to host this app.
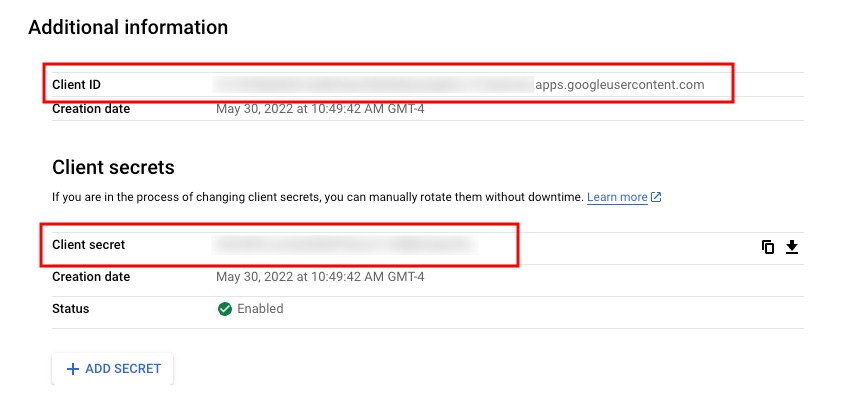
Obtaining OAuth client_id and client_secret
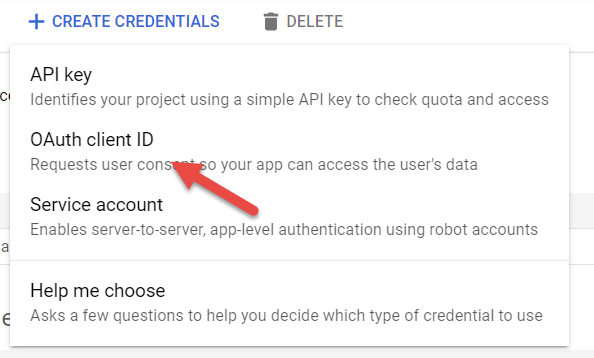
Open the Credentials page and click CREATE CREDENTIALS.
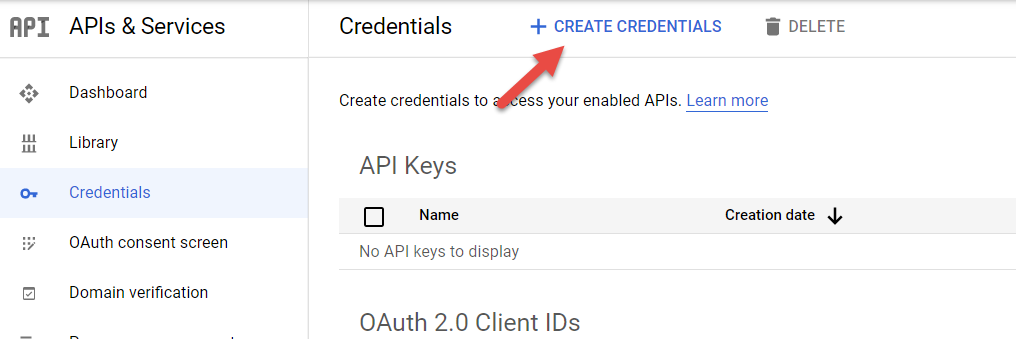
Select OAuth client ID.
Choose Web Application as the Application Type.
Give your credentials a unique name which is meaningful to you.
Add a Redirect URI where users are redirected after a successful OAuth authorization. When using NestMTX, you can obtain the redirect URL from the Credentials Management screen.
You should now be presented with the OAuth
client_idandclient_secret. Take note of yourClient IDandClient Secretas you will need them in order to configure credentials in the Credentials Management screen.